Using moveable colour in home staging

You hear the word “neutral” all the time when talking about home staging but neutral has many different meanings. Using neutrals on large elements in a home makes sense. Flooring, surfaces, wall treatments etc. are large investments and a homebuyer wants to know these will be elements they can live with for many years. Having said that, if your home has features that date it, there are techniques home stagers can use to enhance the positive features and using “moveable colour” is one way to do that effectively.


2013-04-07 13.03.38


Colour moves us. It attracts us and stirs our emotions. I have seen many homes where the homeowners have put some staging techniques in to play by decluttering, depersonalizing and removing every last accessory etc. until they are left with a bland, beige box. Yes, you can go too far when preparing a home for sale, removing focal points, colour and anything that will attract a buyer to those online images.

Movable color in items a seller can take with them can update a home for very little cost. Moveable colors are bedding, towels, area rugs, artwork and accessories. By adding pops of colour to every room you instantly freshen and add interest but they have to be the right colours in the right amounts.

Stagers know how to get this right. We stage to highlight positives, create focal points and showcase a home that will attract your target buyer. If your home is occupied, very often we can use what you have, in a way you may not have thought about. If moveable colour is needed to add the finishing touches, we can make you a list of items needed and recommend where to find the best prices or we can shop for you or rent items from our staging inventory.


20131115_113834


With a vacant home a stager will choose the furniture, accessories and moveable items that will best highlight your property and appeal to your buyer.

You only get one chance to impress and cutting corners will only hurt your home sale. A small investment ensures you have your best foot forward from day 1 and saves you time and $$$$ by doing it the right way.


A little Prep

Top photo shoot styling tips for selling a home

Home Stagers are experts in styling homes for photo shoots. In a few hours we can whip and flip a home into a stunner. Your on-line photos are the #1 advertising element of your for sale home. Don’t stop short when you publicly introduce your home to potential buyers by not making it perfectly groomed for its Internet close-up.  Here are a few of my top tips and techniques.

Make your bedroom a showstopper

cropped-fgi_0143.jpg

Master bedrooms are a big deal for buyers. A place to relax and unwind from the stresses of the day and every room needs a focal point. Plump those pillows (no pancake, lumpy old pillows) invest in fresh new pillows and bedding. It’s a small investment that can go with you to your new home and trust me it makes a huge difference in how buyers react to online images.

Make bathrooms sparkle with a spa theme


Every bath needs fresh, clean, fluffy towels, a seat down, glistening surfaces, and not a personal product present. No toothbrushes, potties, boxes of tissues, bath rugs on the floor, toilet brushes, cleaning products etc. etc. Many bathrooms are small and the least bit of clutter will make it even smaller online.

Kitchen counters

Remove all clutter, small appliances, paper towel, vitamins, paperwork, boxes of cereal etc. etc. Kitchen counters tend to be a dumping ground for all and sundry. You want to show how spacious your counters are and highlight those fabulous finishes. Don’t forget to remove rugs, door mats, dish soap and tea towels from stoves.

1 (3)

Photography and Lighting

I can’t stress this enough. Hours of of staging and prep will be ruined with dark, blurry images taken from bad angles. This is your chance to shine and impress buyers who are seeing hundreds of online images of the competition. Open all drapes and blinds. Often perfect opportunities to wow are lost when a beautiful view from a window is unseen or you can’t see how beautiful flooring or molding details are. If your images aren’t cutting it hire a professional, you won’t be sorry.

13

A little Prep

Behind the scenes

Styling a lifestyle photo shoot

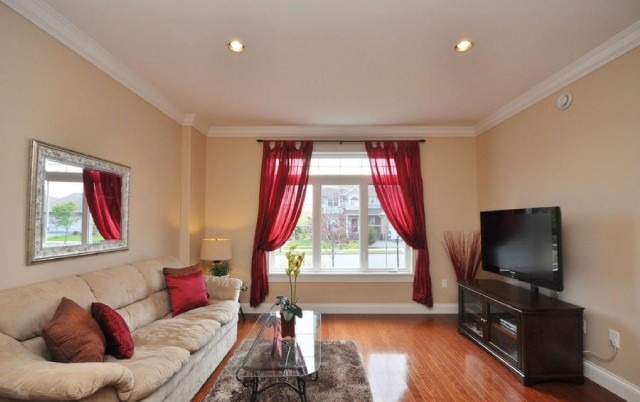
I love a blank canvas, in my case usually a room/rooms, though I have been known to paint a canvas or two. Much like creating a work of art, lifestyle staging whether for Real Estate or to promote a product is all about layering elements.

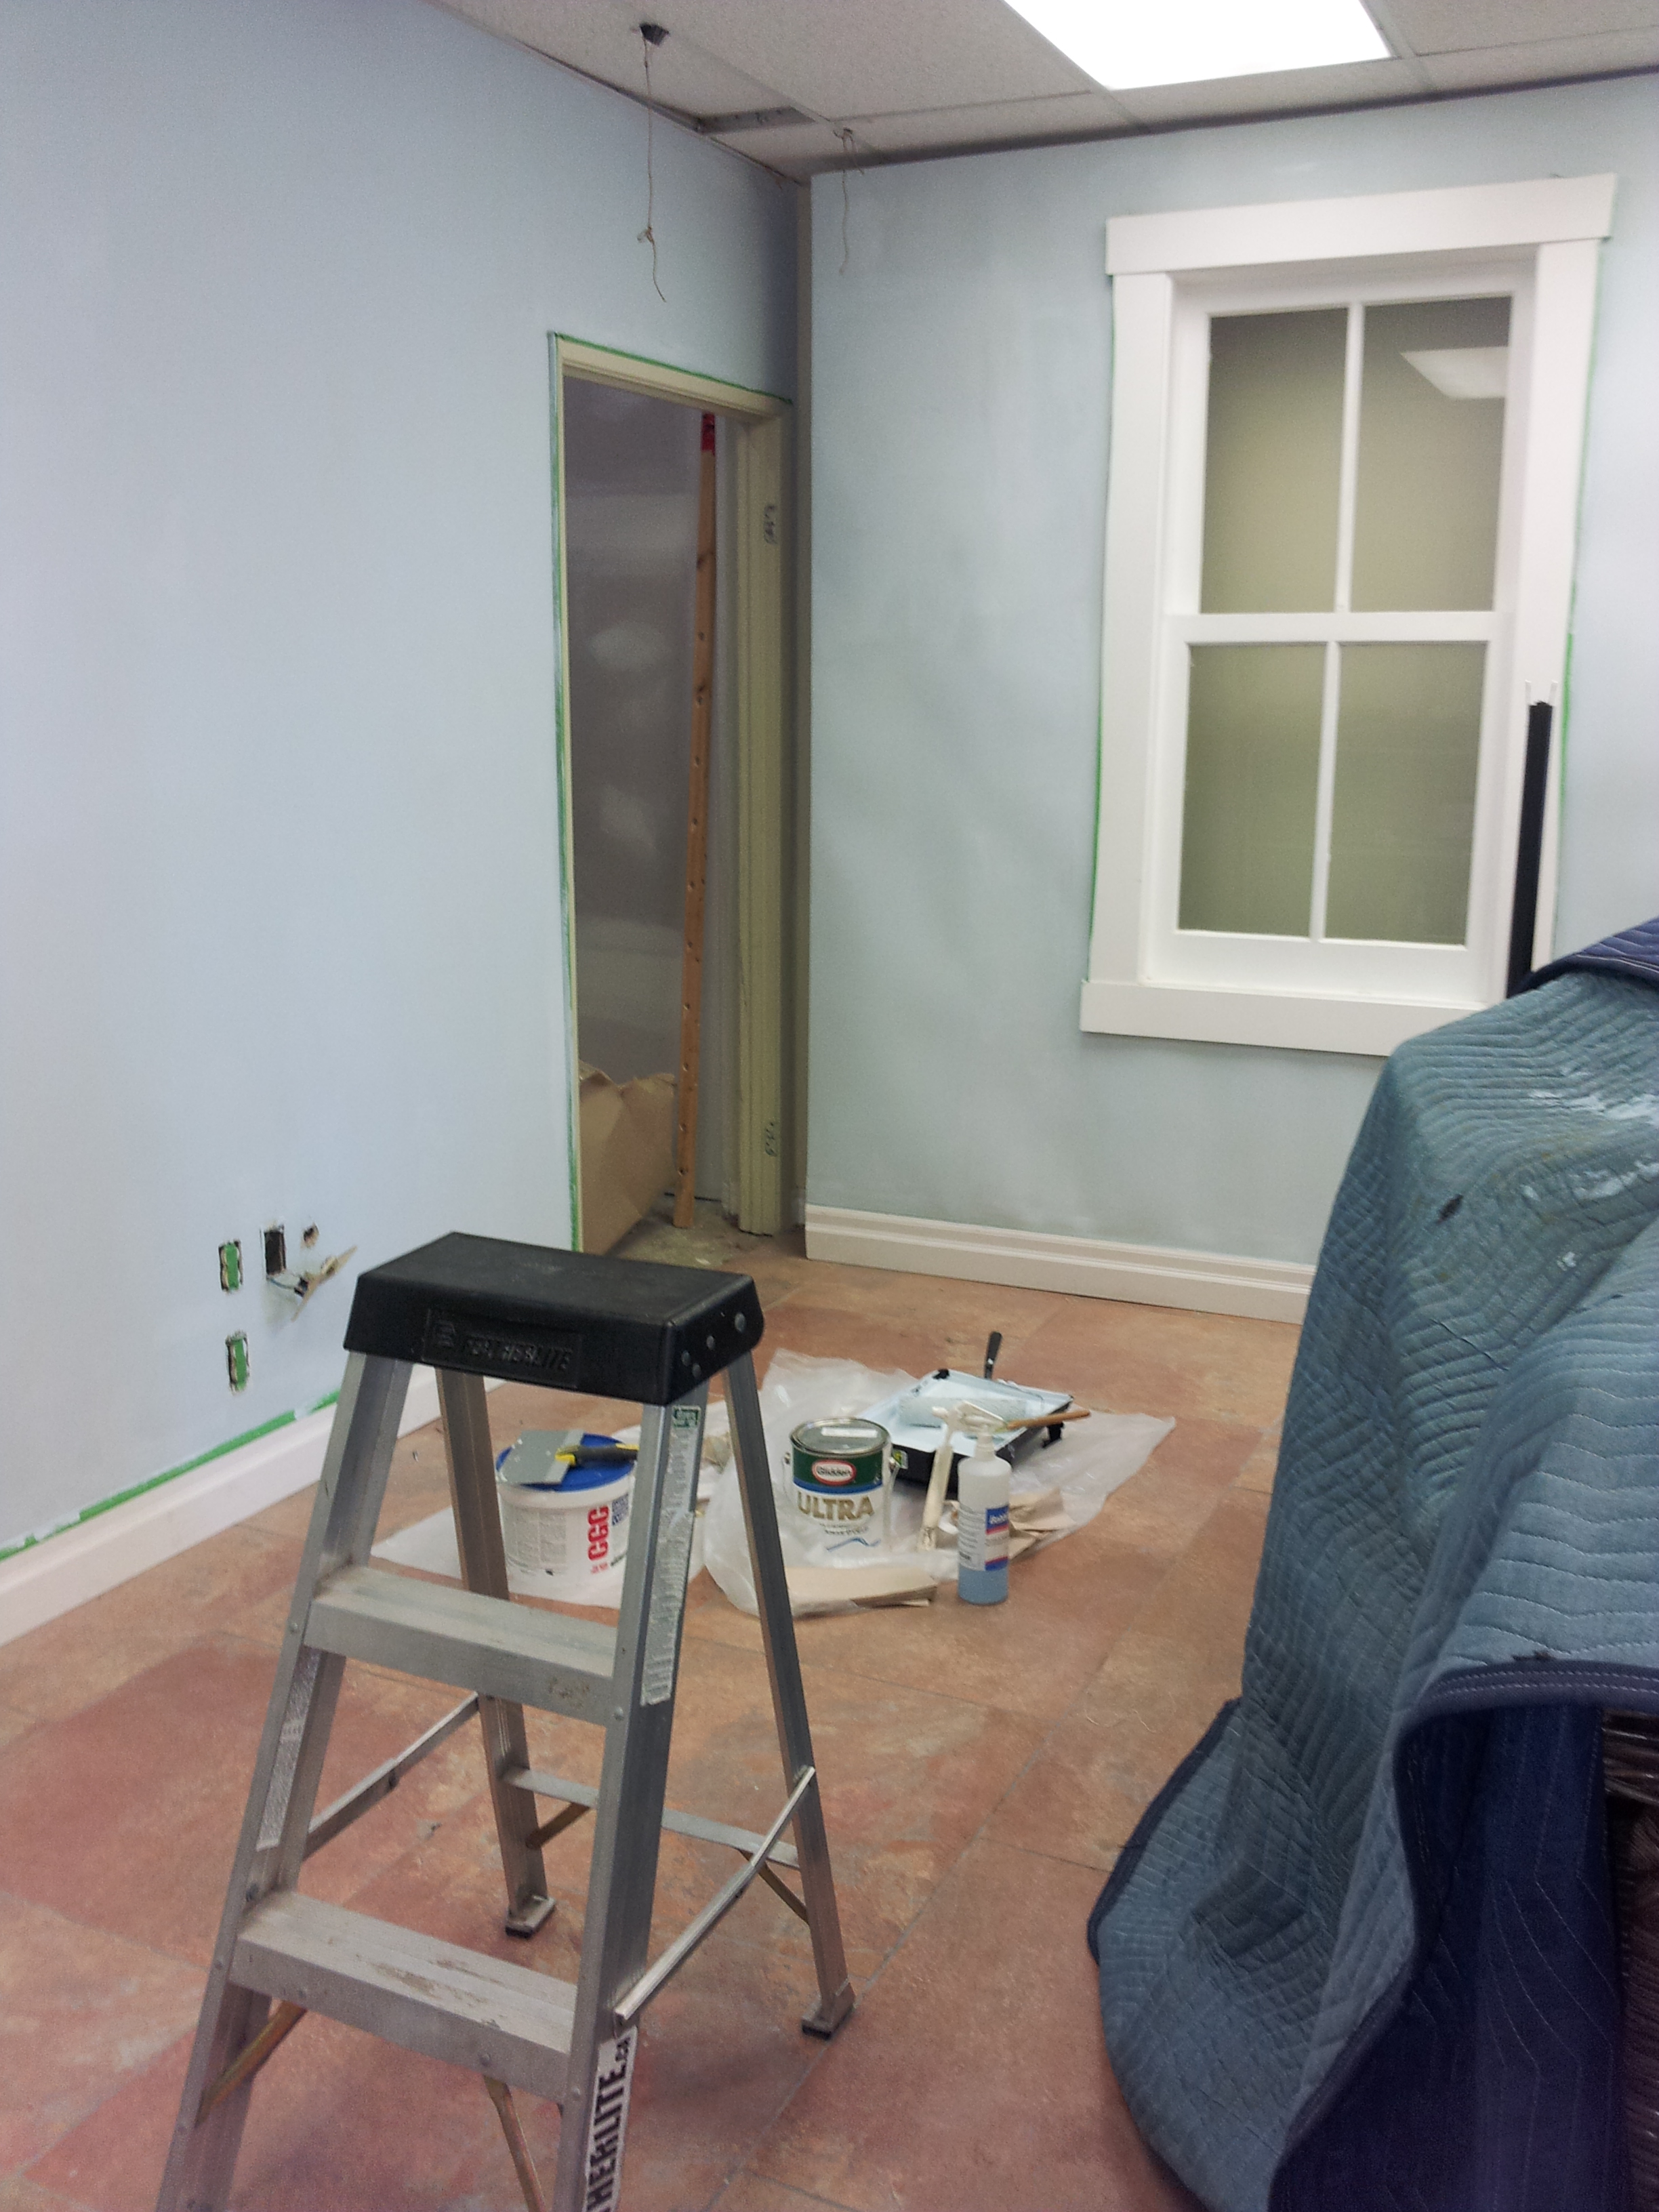
The images myself and Vanessa Lentz of www.farmgateimaging produce for Halifax retailer www.wickeremporium.ca are done in a photo studio at Wicker Emporium’s head office in Halifax, Nova Scotia. Not quite a room ( we usually work with 2 walls) the other half of the studio is used for web  product photo shoots. This half is painted in white and resembles a skateboard ramp with one wall curved on the bottom to eliminate shadows in the finished web image. Every Wicker Emporium item from napkin rings to armoires is photographed here so it is a busy spot.

As soon as Vanessa and myself finish a lifestyle shoot we are busy planning the next one. Each shoot takes a week or more to plan. First step is to collaborate with Wicker’s Marketing Director to get an idea of what products to promote. Next I make a list of items I will need for the shoot. This involves checking the website , visiting the stores and sending the list to the inventory department. If available the large items of furniture are reserved in inventory for the shoot and placed outside the photo room for me before shoot day.

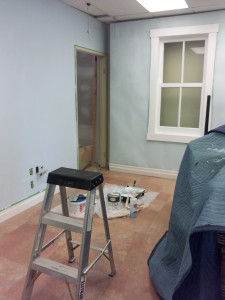
Lifestyle shoots are all about creating a mood so lighting comes into consideration. Vanessa and I discuss the setup (is this a morning/ afternoon/ evening vignette) We have a moveable wall on wheels (wouldn’t we all love one of those! ) which has a window with frosted glass. There are more than a few challenges to overcome when shooting. The photo studio has large windows that look out on a parking lot, a drop ceiling, a large double door and 1 smaller one that lead to the warehouse and a staircase, which we can use in the shoot if we reposition the wall.

20130619_120838

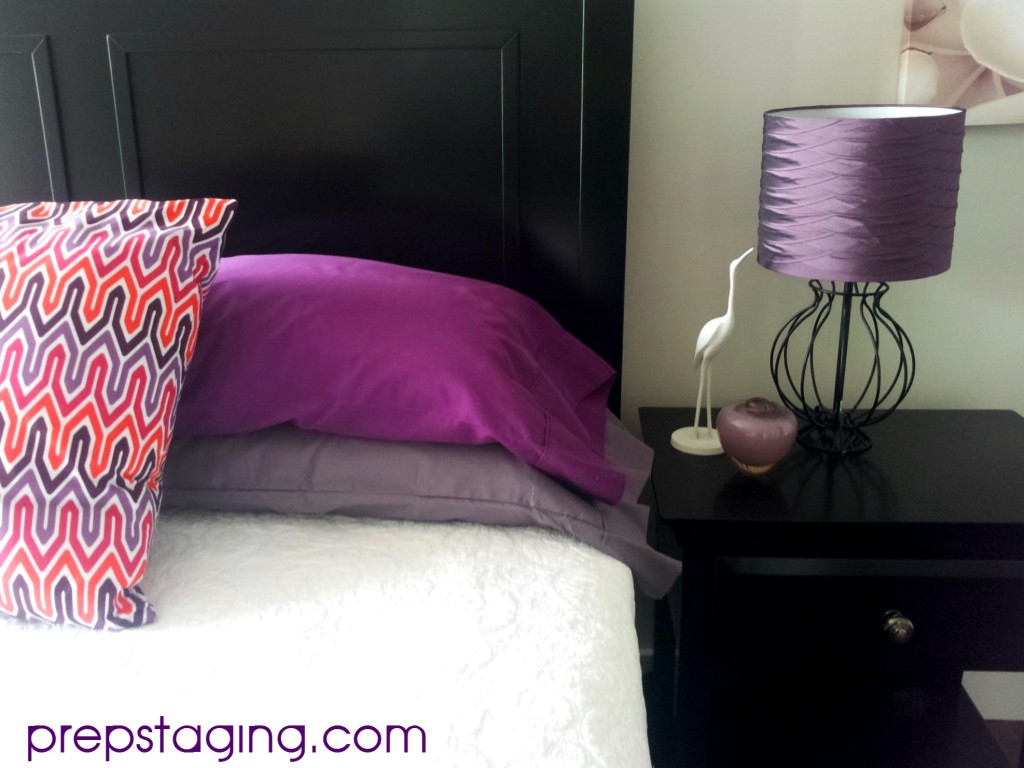
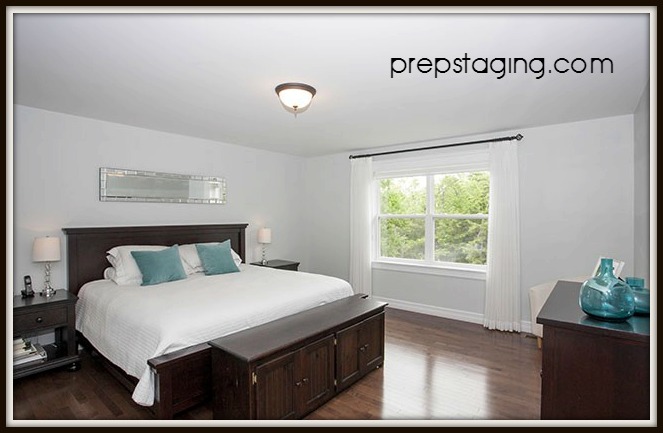
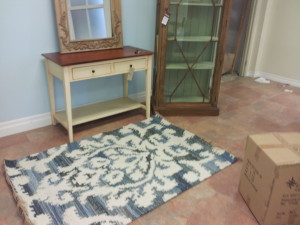
I arrive the day before the shoot or the morning of to unpack and position the furniture, steam linens if needed, select and pick up accessories from one of the stores, shop for any food, flowers etc. for props and unload and unpack any additional items needed for props from my own inventory. I start with positioning the larger pieces of furniture (I may also get a sneak peek of any new items just arrived in the warehouse, it’s like Christmas!) Once I have this part right I can start to layer. Rugs, drapes, artwork, accessories. It’s a process that takes a lot of tweaking before I am happy with the finished result. It usually takes 4-5 hours to set up a small shoot. More elaborate shoots like the Holiday ones may take up to 2 days to complete.

20130621_100845

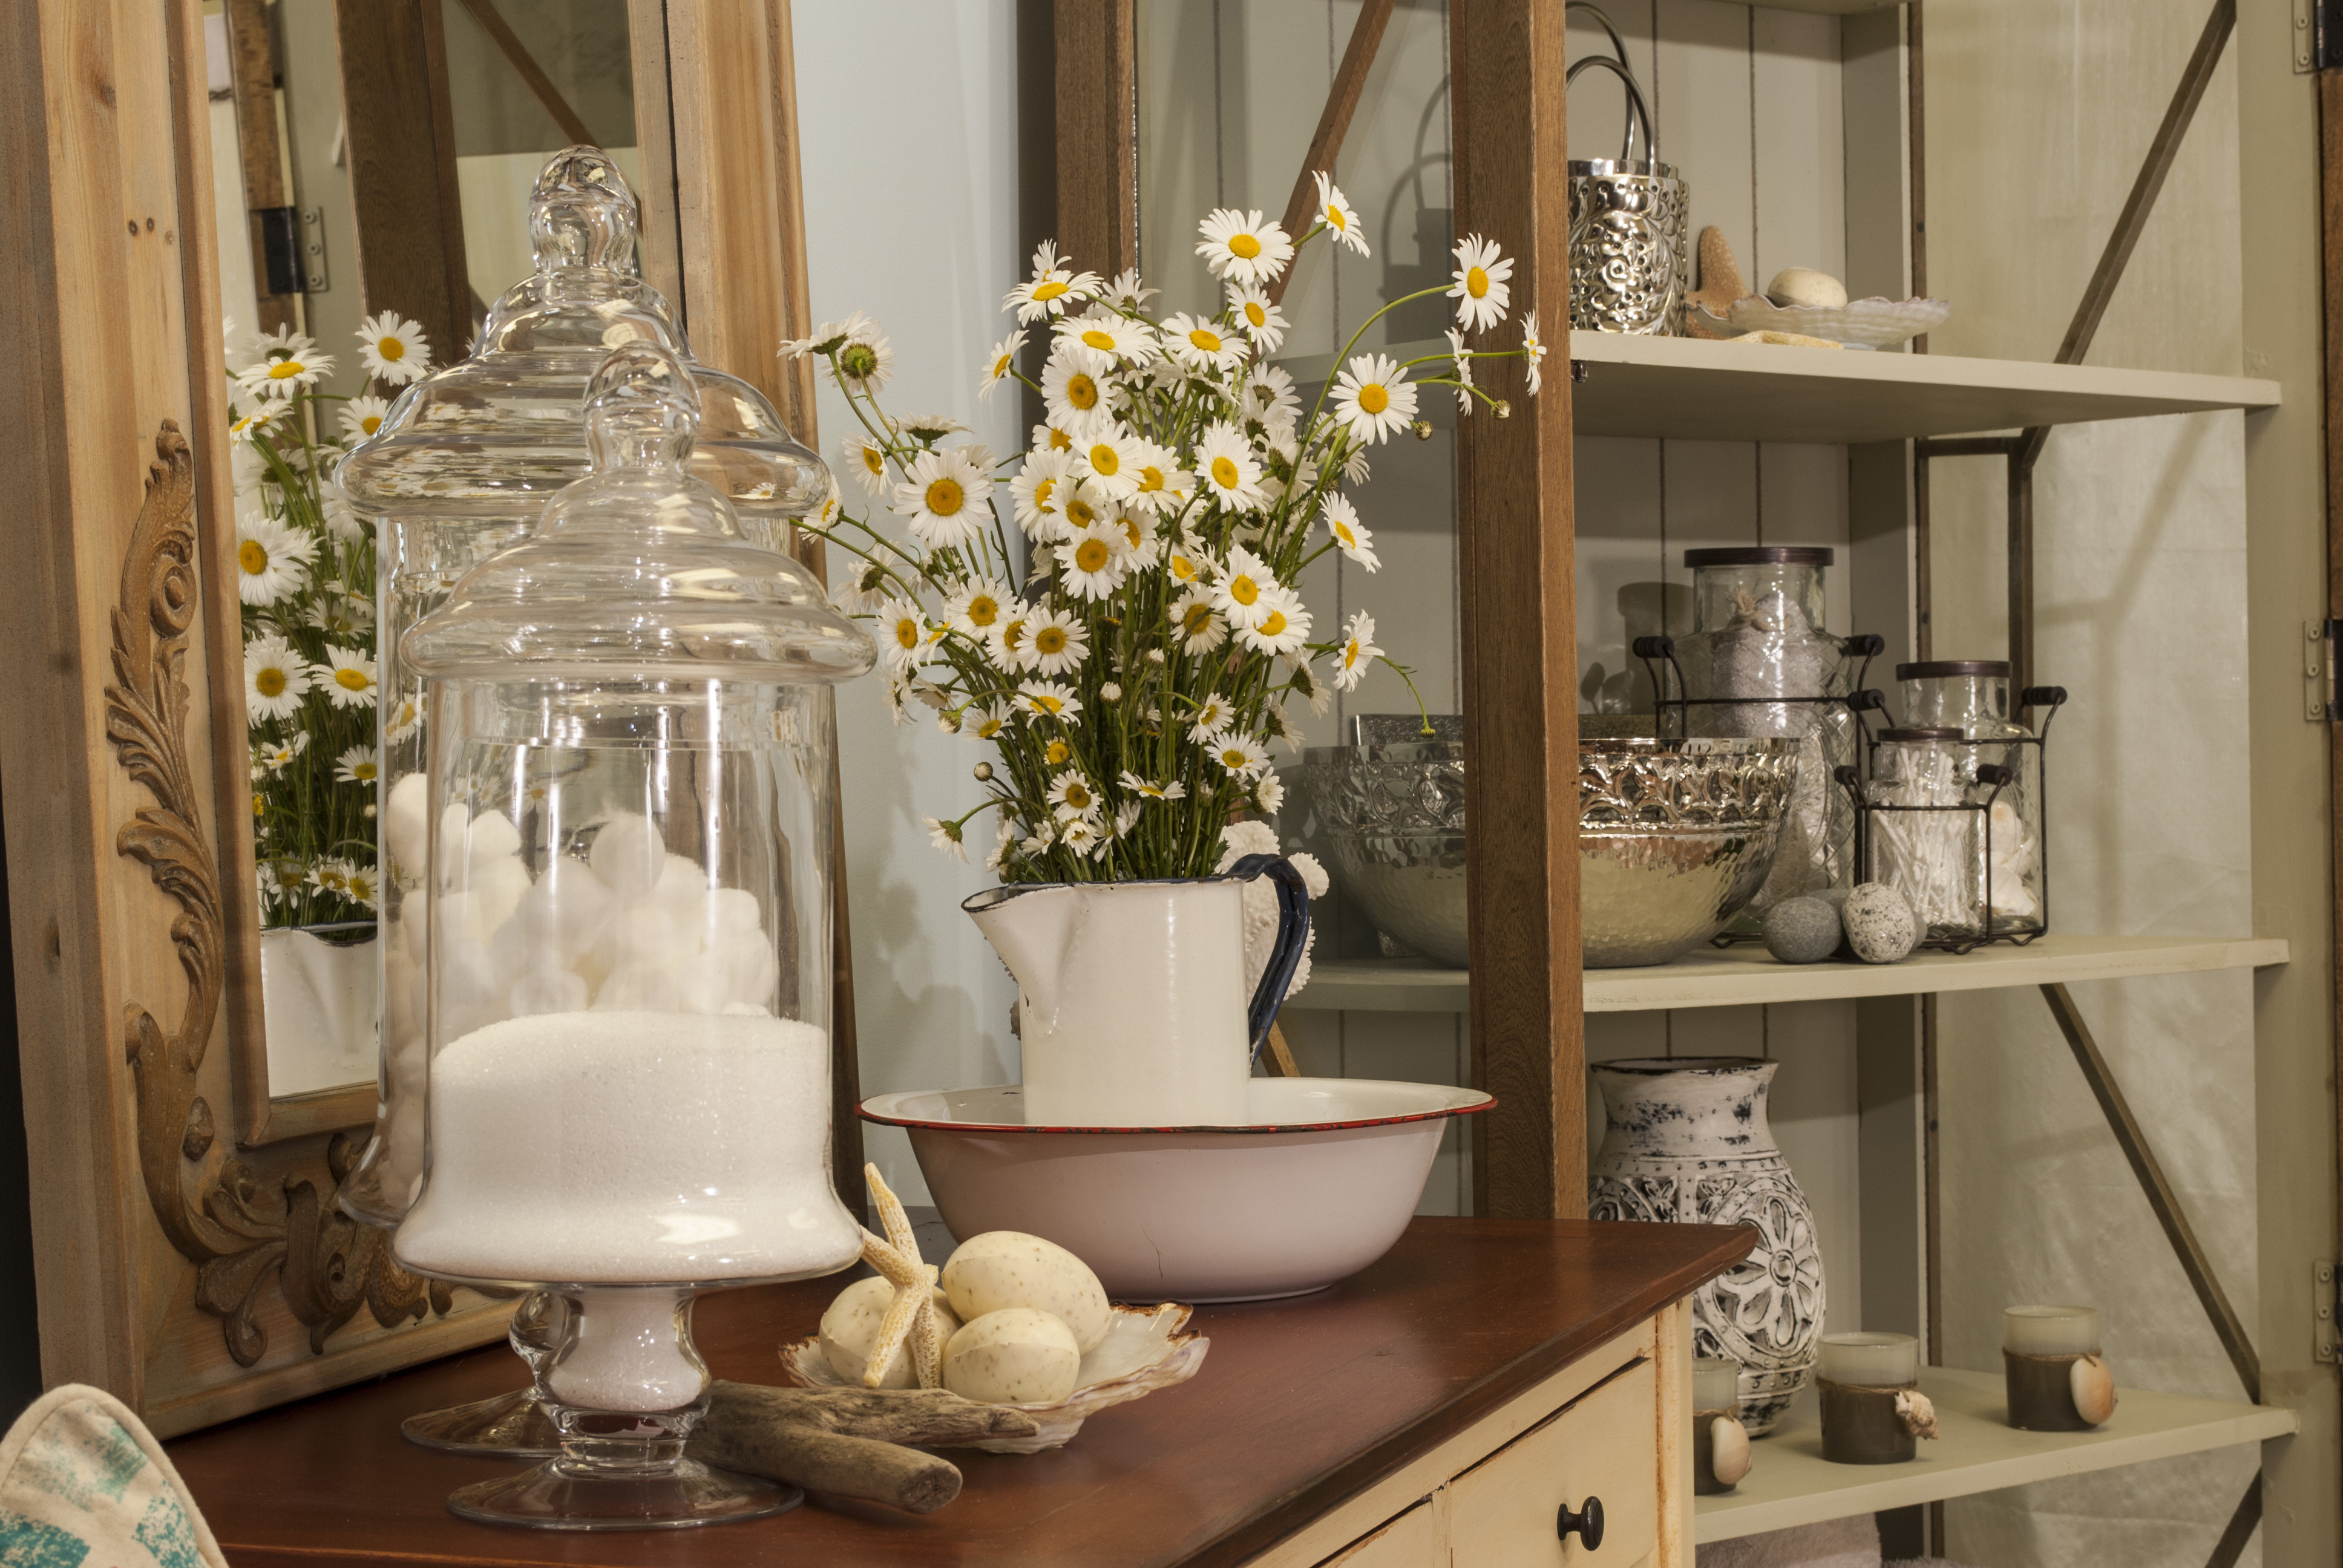
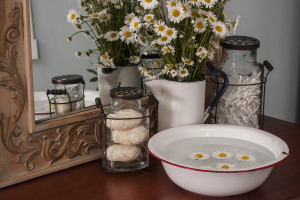
This particular shoot was a “bathroom” setting. Not being done in an actual bathroom we had to get really creative to give the look of a country bathroom without a tub, sink or even running water. To make it even more challenging for Vanessa I used a large mirror. Mirrors are so tricky in photo shoots. The reflection of a drop ceiling and warehouse doors does not a pretty image make, so I positioned the moveable wall to reflect the window, quite effective in the finished image! There is a lot of tweaking during the actual shoot too, just off camera one part of the setup can be ripped apart as we reposition everything to get a good variety of images. There can be dozens of images shot but only a few are used (the cream of the crop) Even slight adjustments can make a world of difference to the final result so Vanessa and I constantly review her shots on camera and make changes as we go along to get the perfect end result.

After the shoot, it’s time for Vanessa to work her magic in the editing department. It’s always a thrill to see the final images after Farm Gate Imaging has done the technical stuff (she’s a genius) and it always amazes me how her vision and expertise can change what I might think was an ok shot into something spectacular.

Here are some images from the shoot. Prepped, re prepped, tweaked, edited and finally with text added by a designer. A lengthy process but so satisfying to see the finished result after everyone has done their part. These images are used for website, Face Book, Twitter, print and in store advertising.

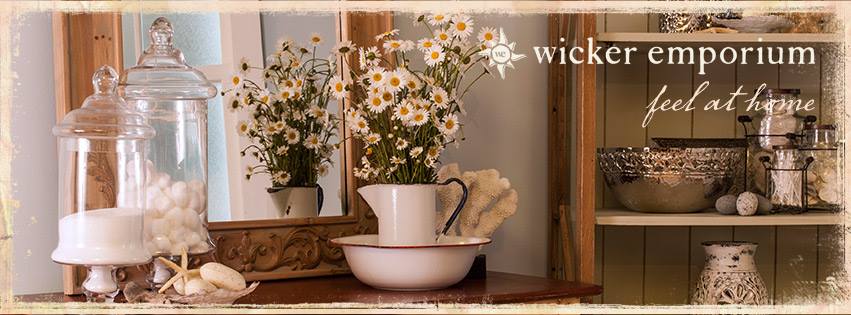
Final Face Book banner image 11522_10152951392090244_1062323958_n

We try to make every shoot different and fresh and we are so proud to be associated with Wicker Emporium, a fabulous local Halifax company that is expanding in big ways in Canada.

Country Fresh

fgi_0243


 Props added

fgi_0192


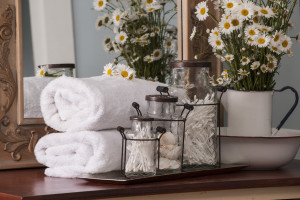
 Showcasing accessories
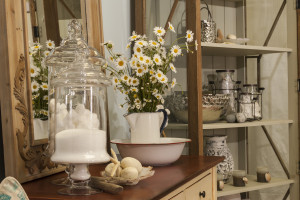
fgi_0033


Final Web image

13-07-02-Main-Ad4a

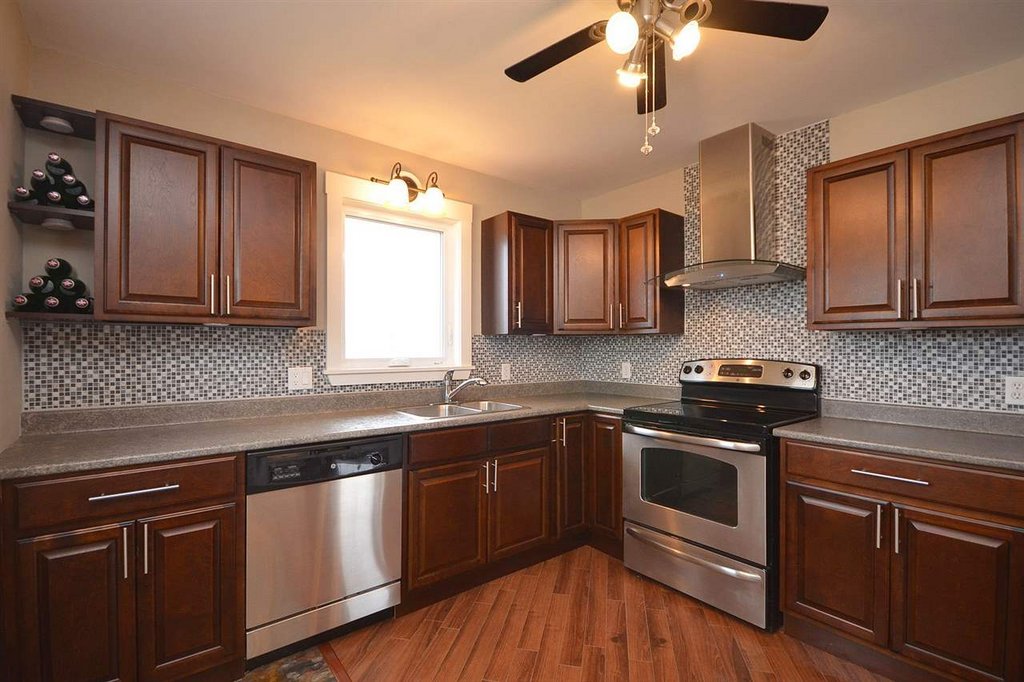
Last weeks shoot was a kitchen setting and I have to say Vanessa outdid herself. Keep checking the Wicker Emporium website, Face Book page and Twitter account to see new images of our work and Wicker Emporium’s beautiful products.

In a few weeks it’s time to start on the Fall lifestyle shoots, I hope the weather cools down before I set a Thanksgiving table.

Enjoy your Summer 🙂

Avril

Prop Styling

Avril Brown

http://prepstaging.com/

Photography

Vanessa Lentz

www.farmgateimaging.ca

Product

http://wickeremporium.ca/


Online images make or break a sale

We all keep hearing over 90% of buyers are searching for their dream home on line . A captive audience,or is it? Bad images don’t entice a buyer, grab their attention or do any listing justice. A great picture should stop a prospective buyer in their tracks enough to investigate that listing further and arrange a viewing. There is no way to get people in the front door if they don’t like the image on the screen. We see it all the time. Agents eager to get a listing on the market snapping a home that is nowhere near ready to be photographed, with a cell phone camera or a good quality camera for that matter. Having a better than average camera doesn’t guarantee good images. It’s not what you have, it’s how you use it! Not marketing a property with all the tools available in this day and age is doing a client a great disservice.

Before staging
Before staging


Staging and professional photography has to be seen as a very worthwhile investment. The two go hand in hand. A home can be beautifully staged and ready for buyers but bad lighting and odd angles don’t do it justice in the eyes of a buyer. Having professional pictures done of a home that has not had the trained eye of a Home stager do at least do a consult at the property, is not maximizing the potential of a client’s largest investment.

After staging
After staging


In the images above you can see the before and after. In the first first image the room has awkward furniture placement and too much has been removed, leaving it sparce and uninviting. Only one section of the room is featured, leaving it to the imagination how much space there really is. Light is poor out and even the wall colour is not true. The second image after the room has been rearranged and a few items from my staging inventory have been added for colour and interest. You can see the whole room, light is balanced and you can see the view outdoors. Some light staging was all that was needed in this home but it made a vast difference. This property was sold within 3 weeks after staging and professional photography.

If you were in the market to buy a home either for yourself or as an investment, ask yourself this: Would the pictures you take draw your attention to the property?

A good picture is worth a thousand buyers.

prepstaging.com

902 489 6162