Using moveable colour in home staging

You hear the word “neutral” all the time when talking about home staging but neutral has many different meanings. Using neutrals on large elements in a home makes sense. Flooring, surfaces, wall treatments etc. are large investments and a homebuyer wants to know these will be elements they can live with for many years. Having said that, if your home has features that date it, there are techniques home stagers can use to enhance the positive features and using “moveable colour” is one way to do that effectively.


2013-04-07 13.03.38


Colour moves us. It attracts us and stirs our emotions. I have seen many homes where the homeowners have put some staging techniques in to play by decluttering, depersonalizing and removing every last accessory etc. until they are left with a bland, beige box. Yes, you can go too far when preparing a home for sale, removing focal points, colour and anything that will attract a buyer to those online images.

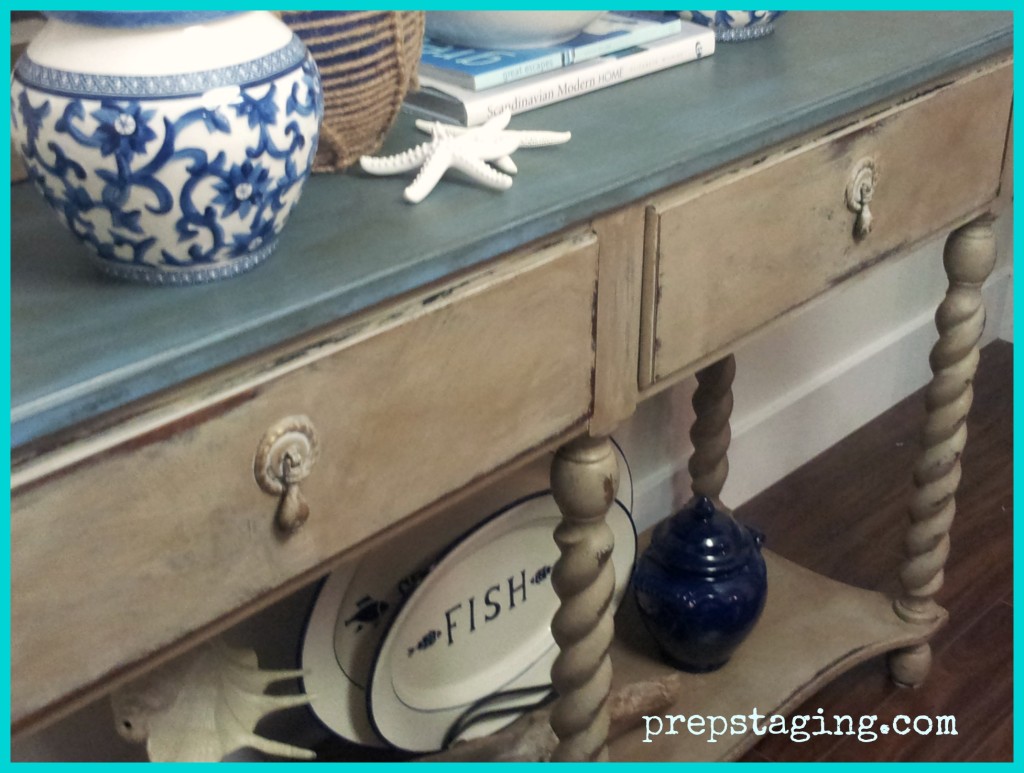
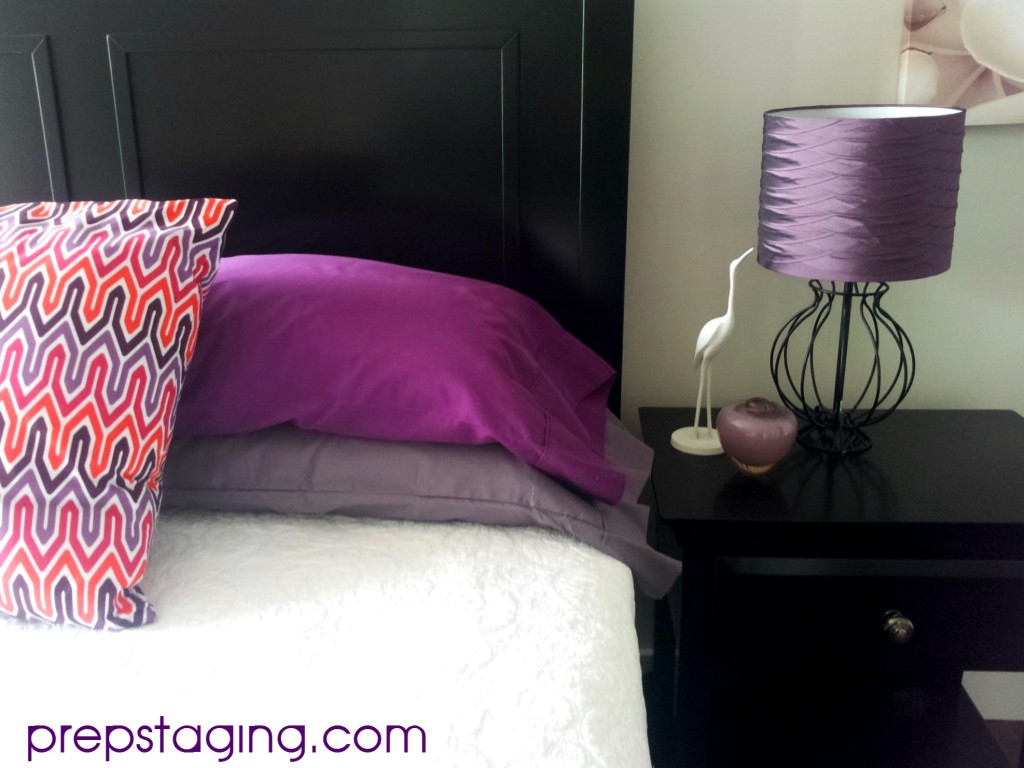
Movable color in items a seller can take with them can update a home for very little cost. Moveable colors are bedding, towels, area rugs, artwork and accessories. By adding pops of colour to every room you instantly freshen and add interest but they have to be the right colours in the right amounts.

Stagers know how to get this right. We stage to highlight positives, create focal points and showcase a home that will attract your target buyer. If your home is occupied, very often we can use what you have, in a way you may not have thought about. If moveable colour is needed to add the finishing touches, we can make you a list of items needed and recommend where to find the best prices or we can shop for you or rent items from our staging inventory.


20131115_113834


With a vacant home a stager will choose the furniture, accessories and moveable items that will best highlight your property and appeal to your buyer.

You only get one chance to impress and cutting corners will only hurt your home sale. A small investment ensures you have your best foot forward from day 1 and saves you time and $$$$ by doing it the right way.


A little Prep

Chalk Paint 101

Chalk Paint 101


There is no escaping the buzz in the crafting and diy world right now, everyone is talking about chalk paint. This amazing product has been around for quite a few years across the pond. Annie Sloan in England wanted a paint that would be fast, easy and cut out the prep work of painting furniture. Smart woman. The arduous task of sanding and prepping a piece of furniture has been eliminated. You just slap it on, I kid you not. I recently picked up some of this fabulous paint at Rusty Hinges  at the Hydrostone in Halifax. If you have never been to this lovely store you are in for a treat. Reclaimed furnishings, linens, soaps, mirrors and of course a rainbow of Annie Sloan chalk paint colours.


20140824_125501


You can take a curb side find and transform it into a customized piece for your home, with very little effort. The furniture piece I made over recently was a Bombay Company buffet passed on from my Mother. It was in great shape to start with but I wanted a new look for my dining room. No sanding or prep needed, just wipe down to ensure no dust or sticky fingers and start applying, any which way. No going with the grain, you want brush strokes to show, that’s part of the rustic, shabby chic look.


20140907_132746


I chose to use 2 colours. Greek Blue on the top and Paris Grey on the base, one of the most popular shades. One coat of blue and move on to the base. By the time I had finished the base the top was dry, that’s how fast the process is. Once the piece has dried do a little bit of distressing with sandpaper. Around the corners, top of the drawers, edges, handles, anywhere you would normally see wear and tear. You can remove the hardware before painting or just paint right over them as I did.


20140907_145433


An absolute must is the wax. This is applied after the paint has dried. Available in clear or dark finish, the wax protects the piece and gives a wonderful sheen and smooth finish. It can be applied with a brush or a lint free rag ( I raided husband’s t shirt drawer) It takes a little bit of elbow grease but is so worth it.


20140901_093917


20140907_193615


Here is the finished piece. It took about 4 hours from start to finish, so so easy and it really changes the look of the pieces. I also made over a small hall table and bench that was in really rough shape. Same technique, Paris Grey and dark wax. I added the new fabric and it makes a great place for keys in my entry way. This smaller project only took a tester size of the paint, a great way to try it out before you commit to a larger can. Here is the before and after.

table before & after


Rusty Hinges also runs chalk paint workshops at their store, give them a call for details, the ladies are so helpful.

20140824_124534

Annie Sloan Stockist Halifax