My no dollar spend dining nook makeover

A nook from nothing


12208478_967020333357195_7481099430970073180_n

I have never been happy with my dining area. It’s tucked in a nook opposite my kitchen, doesn’t have a window and gets pretty dark. Great if you want a candlelit dinner but not so inviting in the daytime. One Monday morning it was time for a change. Not in the mood to go shopping (I know, shocker! ) I decided to shop my house. The largest wall in the dining space has never looked right to me, even though I have changed up art work and mirrors. I needed something to add height and feature this wall. Ding, ding, light bulb moment, A huge canvas I was given by a client who had downsized, was the perfect size. It has had a makeover already with paint but this project needed more.


12219368_967020160023879_3858166263624190150_n

I have always loved the look of a banquette, so it was time to cover this canvas. I needed fabric….. stat. A rummage in my prop closet yielded nothing large enough. I was just about to give in and go search for some fabric when I passed the guest bedroom. Hmmm… right colour, texture and a good weight. Hello Mr Coverlet, I need you.


12208770_967020403357188_7949461458795400646_n

A mad stapling session on the canvas and a bench I already owned and voila, a spiffed up dining area. After attaching the canvas to the wall It looked a little bare. I needed art and the fish picture from the en suite bathroom was perfect. Some hot pink ribbon was a good solution for hanging it and added a splash of contrasting colour.


12240028_967020286690533_3215409218483788680_n

Next some pillows (the 2 blue print are from Wicker Emporium ) I added some faux fur to my dining room chairs and dressed the table with some accessories. I love how it turned out. The whole area is much more inviting and better still I didn’t spend any money. Not bad for a Monday morning 🙂


Here is the before


12243546_967020496690512_5756021119367861487_n

Related Images:

My Holiday House Tour

Holiday Decor at my crib

It’s been a busy week of decorating, styling and tree trimming at Prep Home Staging but I’m ahead of the game with my own decor, which usually gets done in the last week before Christmas (if I’m lucky). I went all out this year with the glitter so I expect to be sparkling until about mid February 🙂

Here’s a mini tour of my home. Enjoy.

Welcome
Welcome


Dining Room
Dining Room


A woodsy centrepiece
A woodsy centre piece


For the birds
For the birds


Gotta add teal
Gotta add teal


Love this guy
Love this guy


Oh Paris!
Have a seat


Nesting
Nesting


1939857_978845562132848_6518133287801635018_n
Oh Paris!


Ready for crisp,cold nights

Ready for crisp,cold nights


10420160_978845635466174_6297373825183818295_n

Related Images:

Chalk Paint 101

Chalk Paint 101


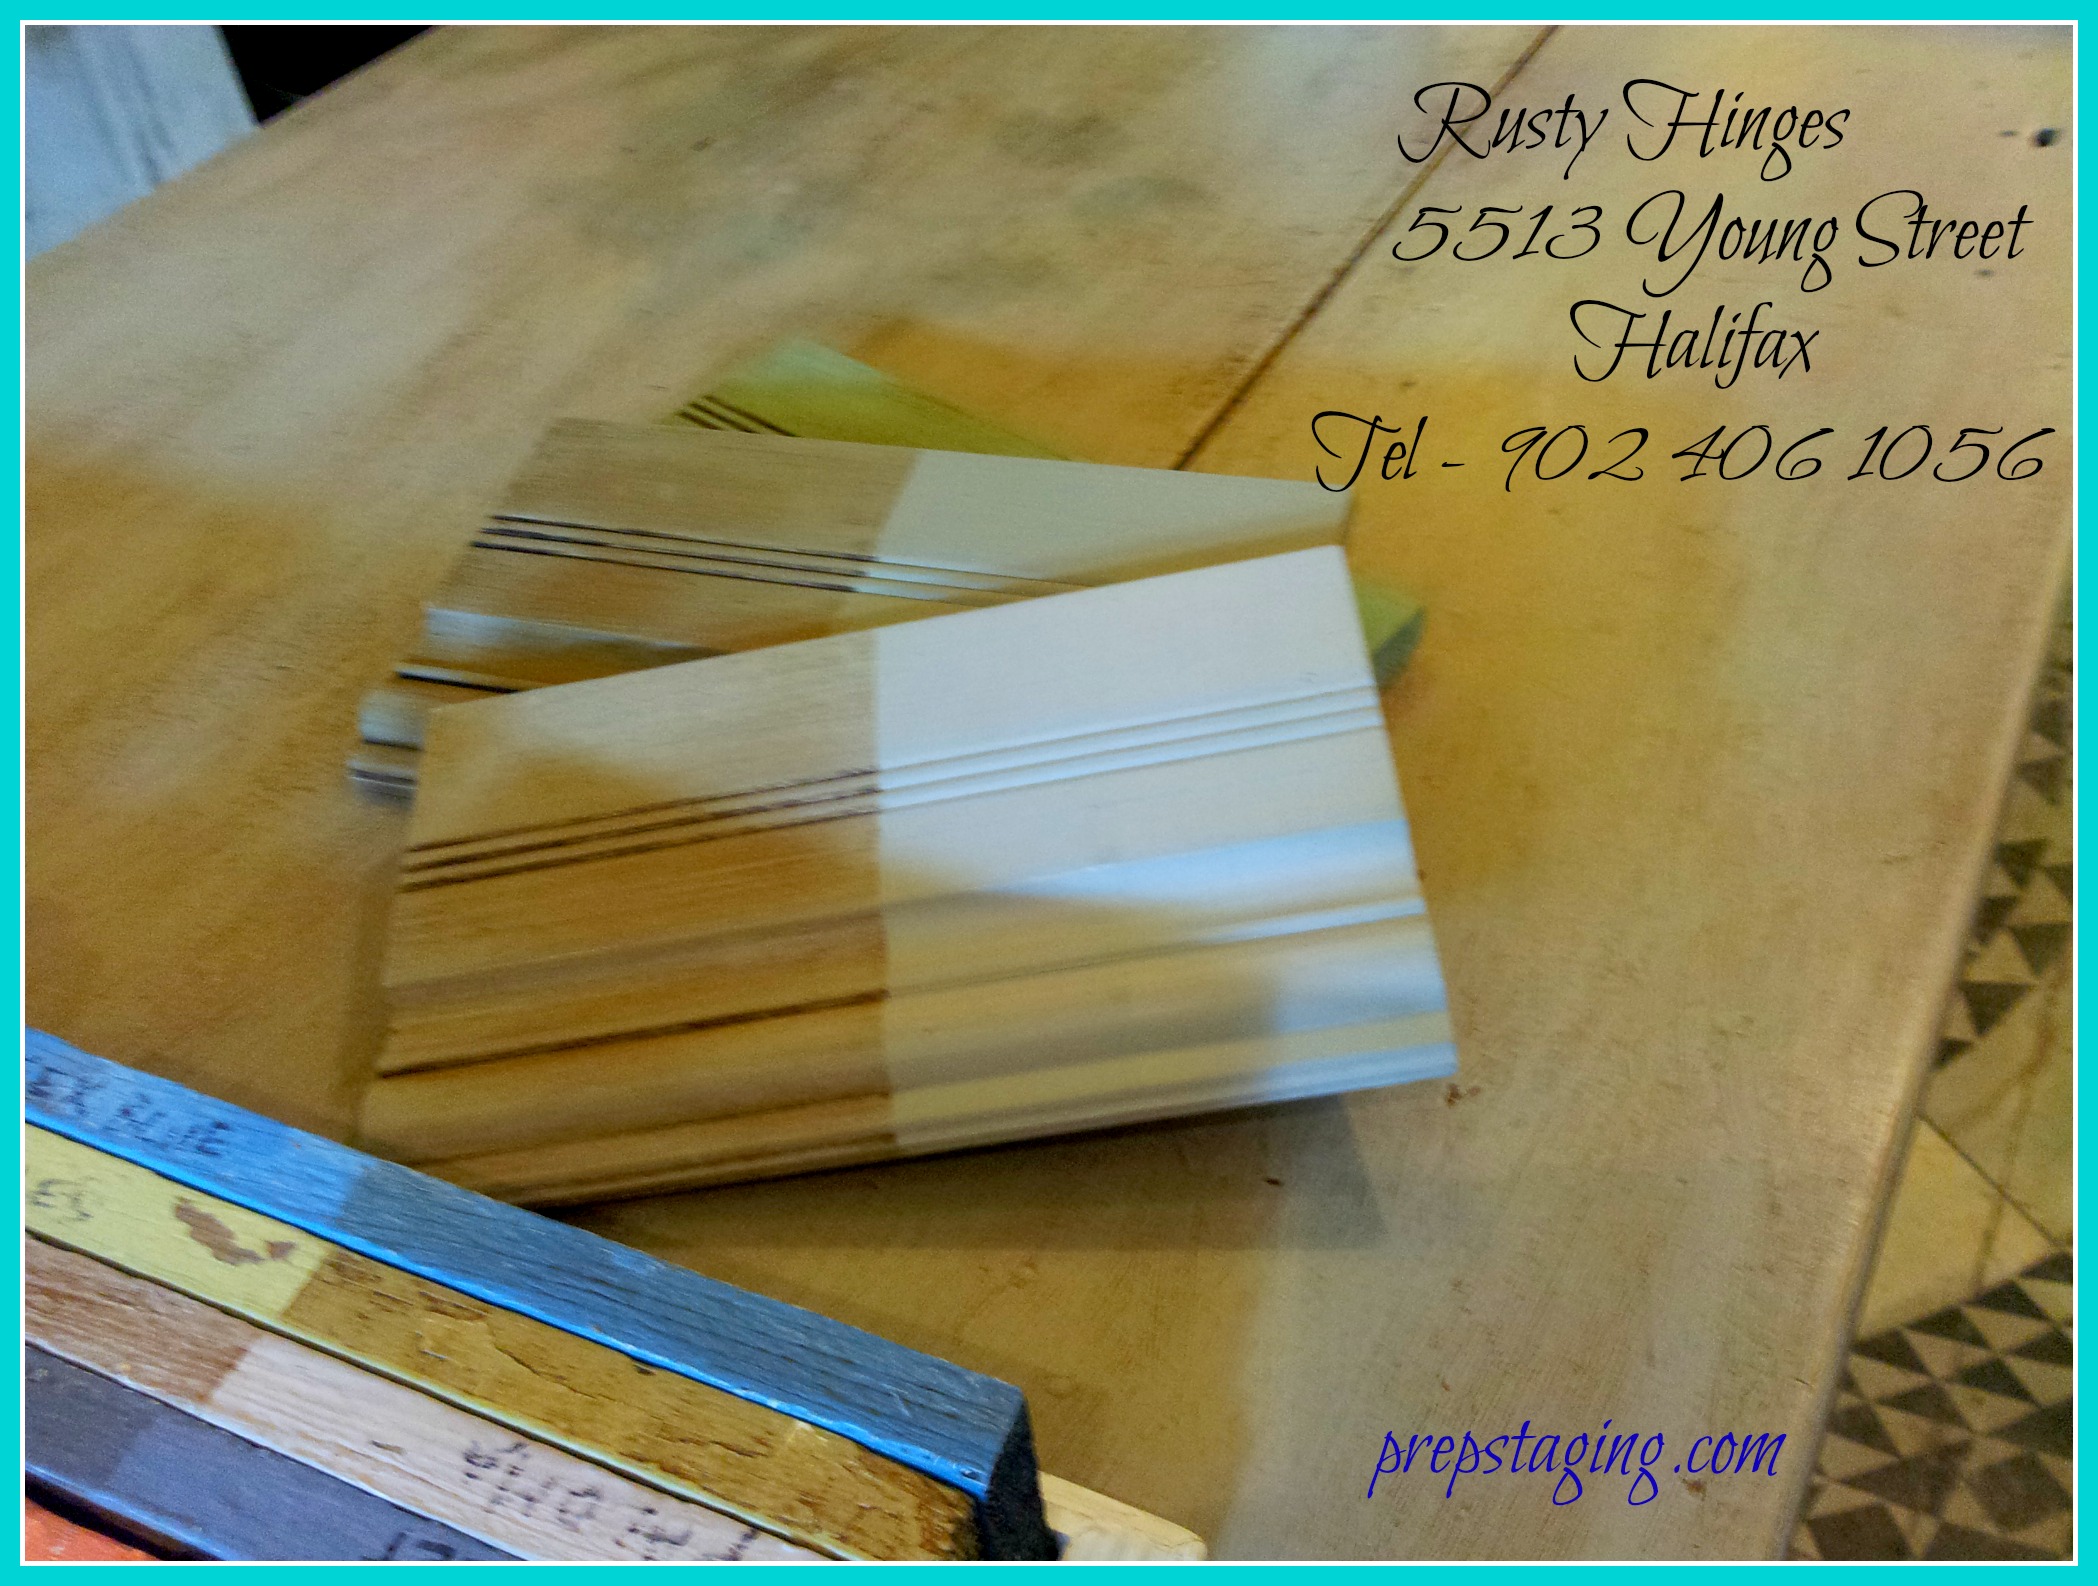
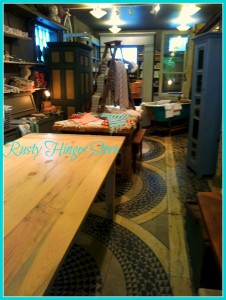
There is no escaping the buzz in the crafting and diy world right now, everyone is talking about chalk paint. This amazing product has been around for quite a few years across the pond. Annie Sloan in England wanted a paint that would be fast, easy and cut out the prep work of painting furniture. Smart woman. The arduous task of sanding and prepping a piece of furniture has been eliminated. You just slap it on, I kid you not. I recently picked up some of this fabulous paint at Rusty Hinges  at the Hydrostone in Halifax. If you have never been to this lovely store you are in for a treat. Reclaimed furnishings, linens, soaps, mirrors and of course a rainbow of Annie Sloan chalk paint colours.


20140824_125501


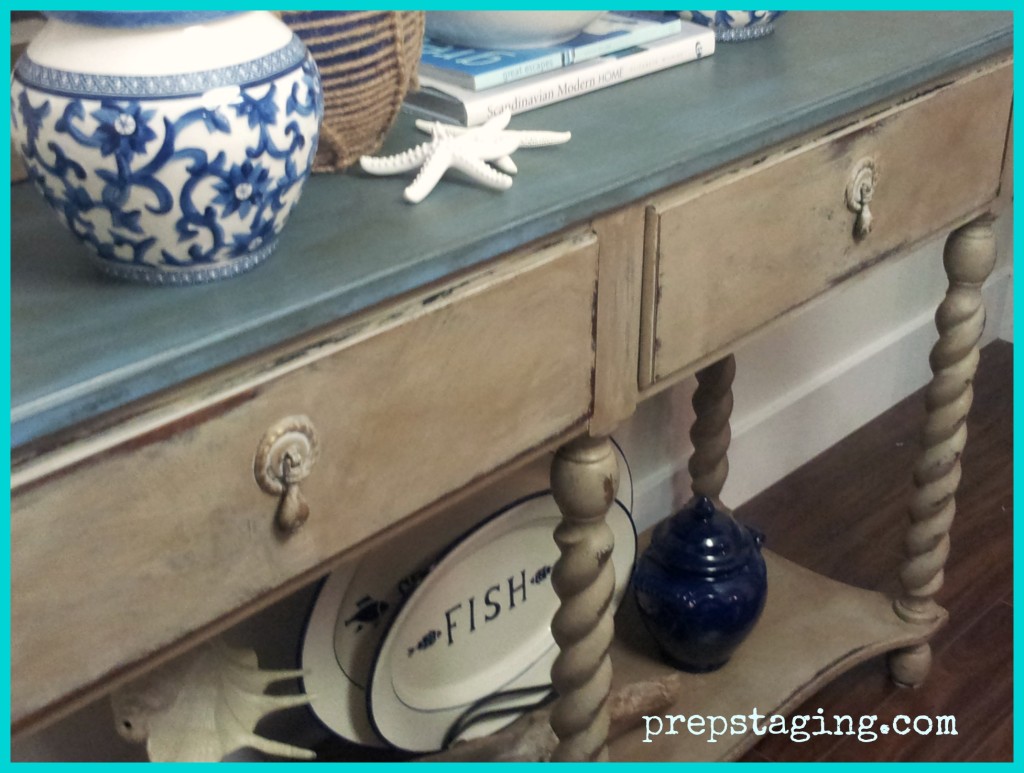
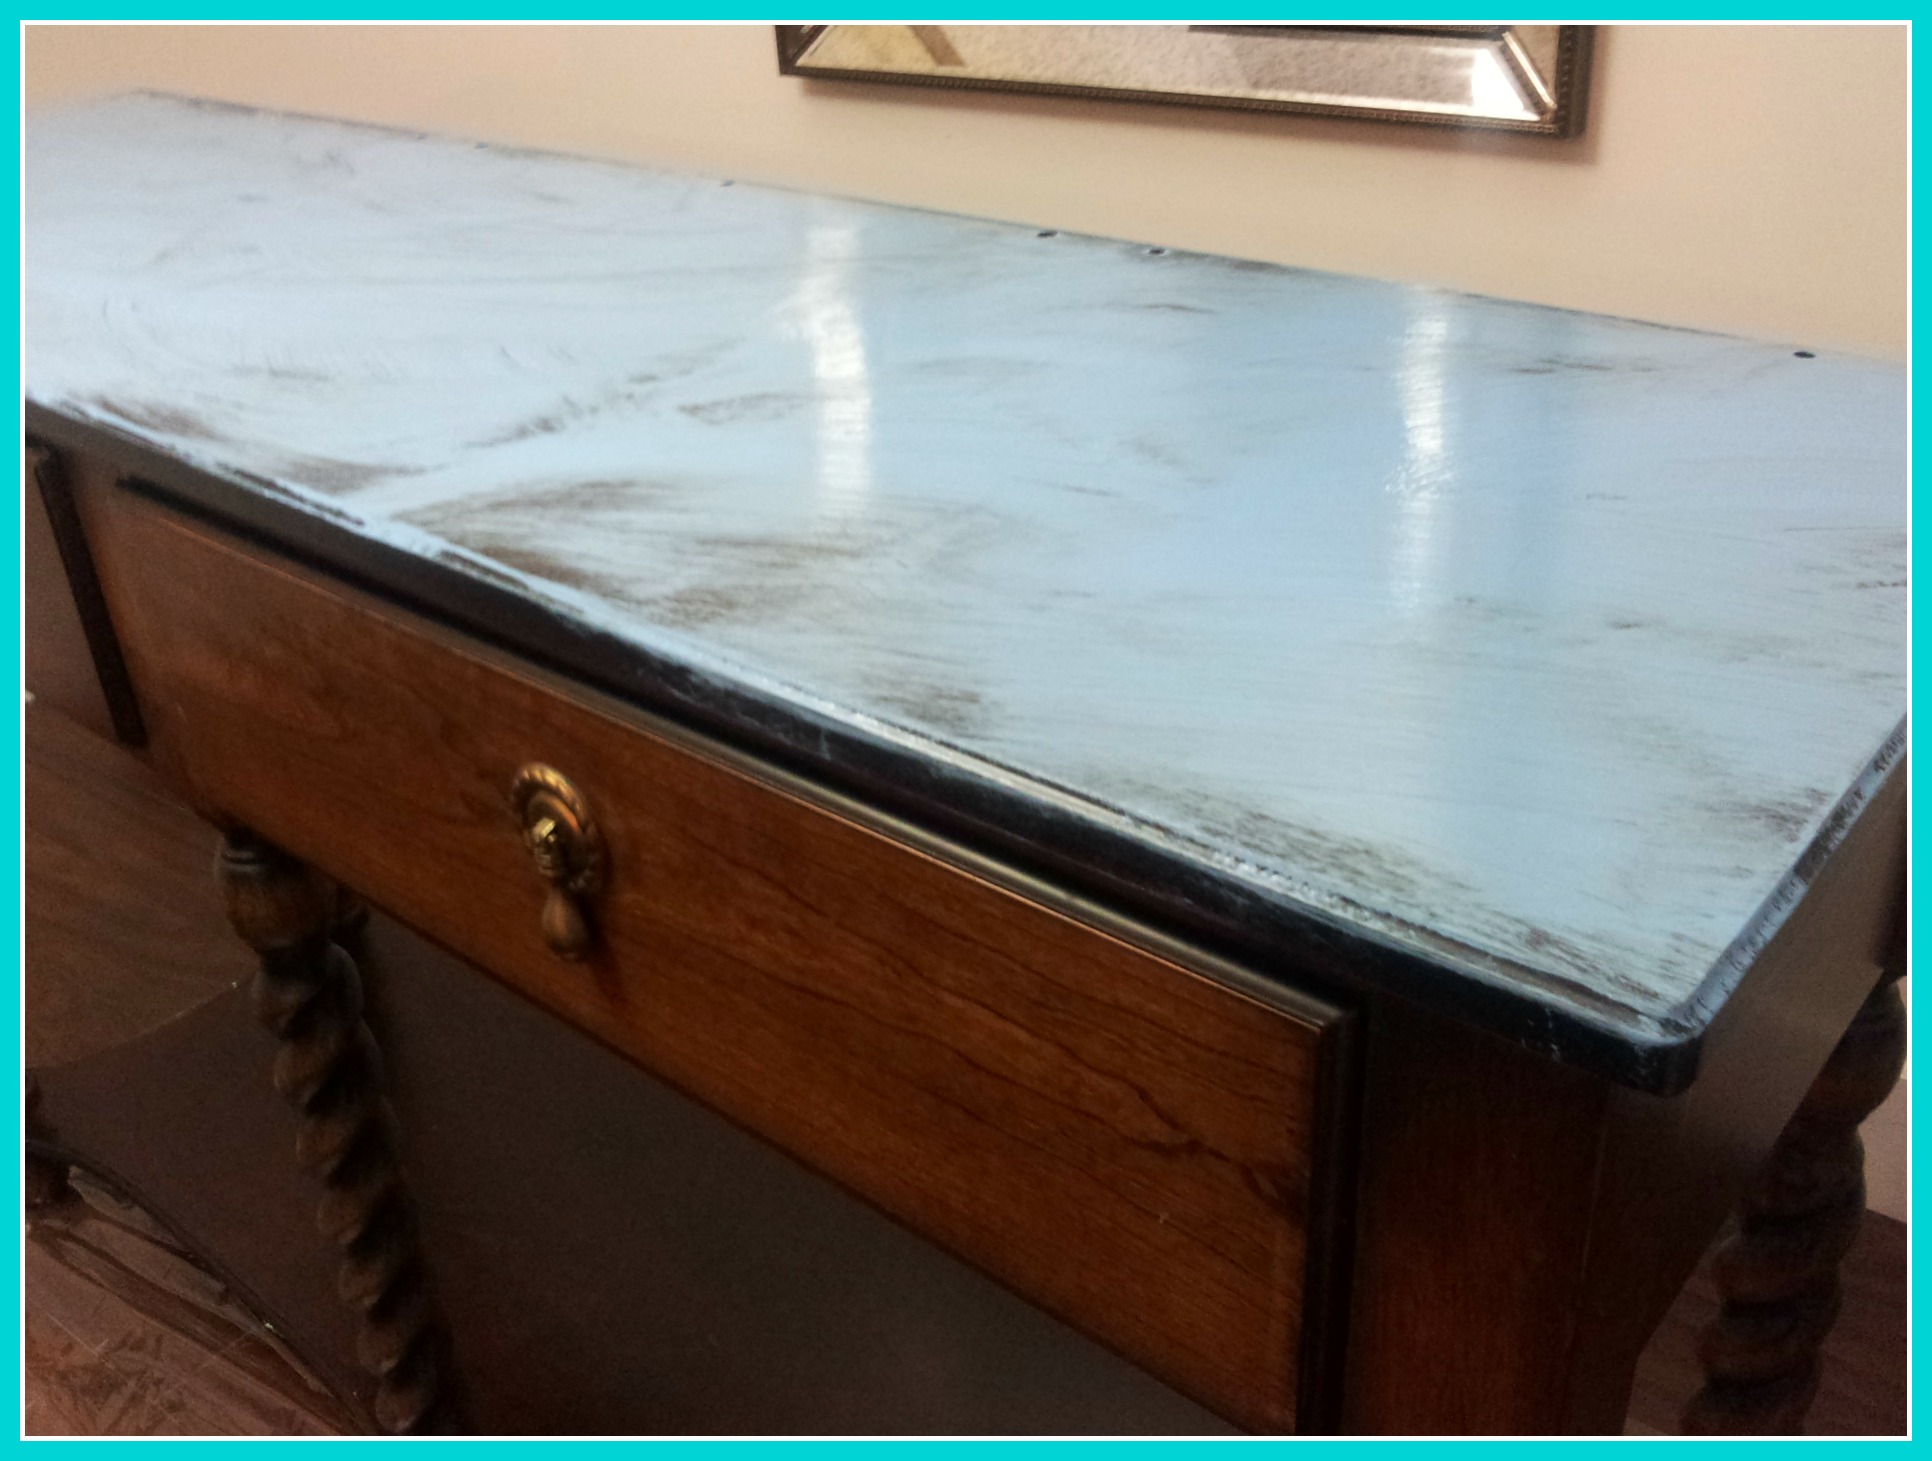
You can take a curb side find and transform it into a customized piece for your home, with very little effort. The furniture piece I made over recently was a Bombay Company buffet passed on from my Mother. It was in great shape to start with but I wanted a new look for my dining room. No sanding or prep needed, just wipe down to ensure no dust or sticky fingers and start applying, any which way. No going with the grain, you want brush strokes to show, that’s part of the rustic, shabby chic look.


20140907_132746


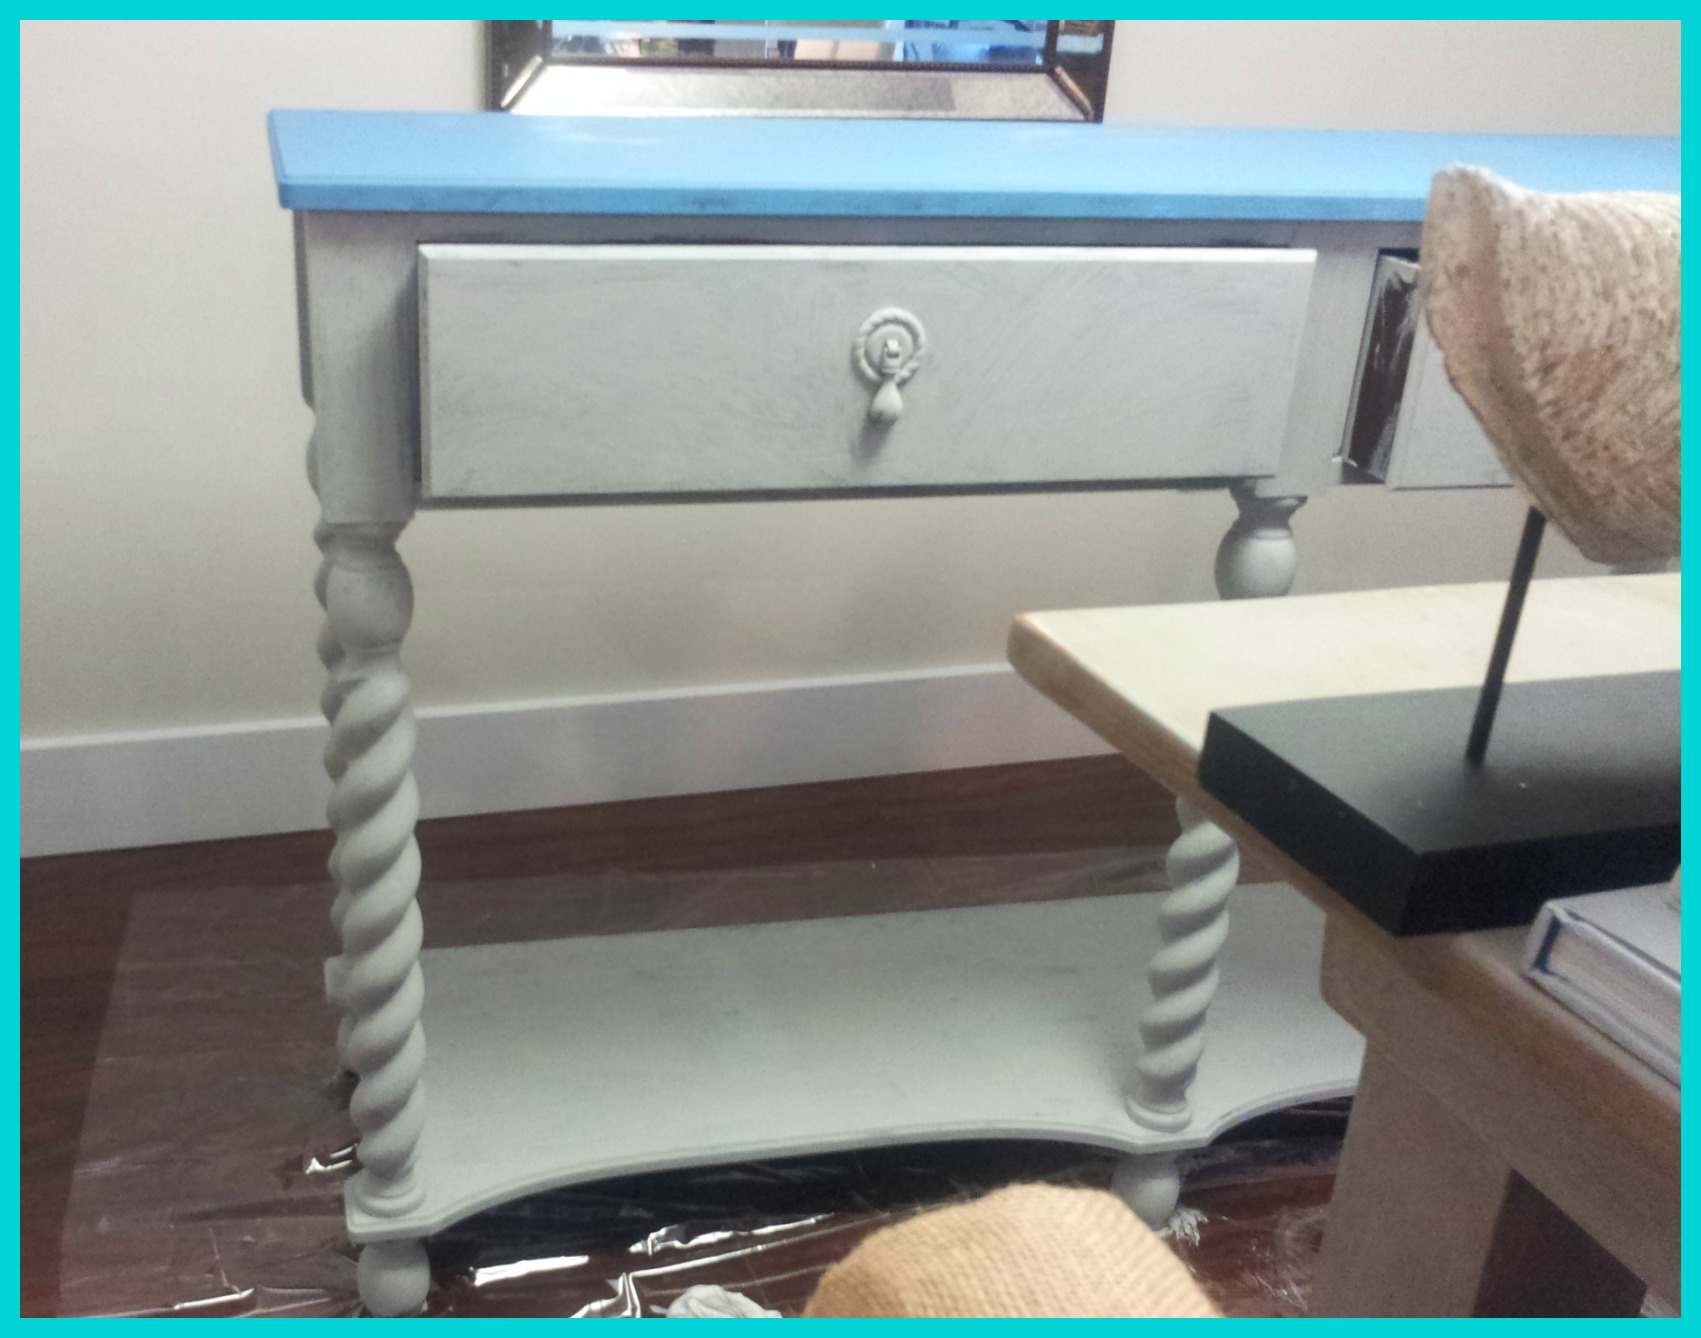
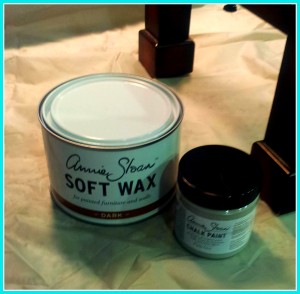
I chose to use 2 colours. Greek Blue on the top and Paris Grey on the base, one of the most popular shades. One coat of blue and move on to the base. By the time I had finished the base the top was dry, that’s how fast the process is. Once the piece has dried do a little bit of distressing with sandpaper. Around the corners, top of the drawers, edges, handles, anywhere you would normally see wear and tear. You can remove the hardware before painting or just paint right over them as I did.


20140907_145433


An absolute must is the wax. This is applied after the paint has dried. Available in clear or dark finish, the wax protects the piece and gives a wonderful sheen and smooth finish. It can be applied with a brush or a lint free rag ( I raided husband’s t shirt drawer) It takes a little bit of elbow grease but is so worth it.


20140901_093917


20140907_193615


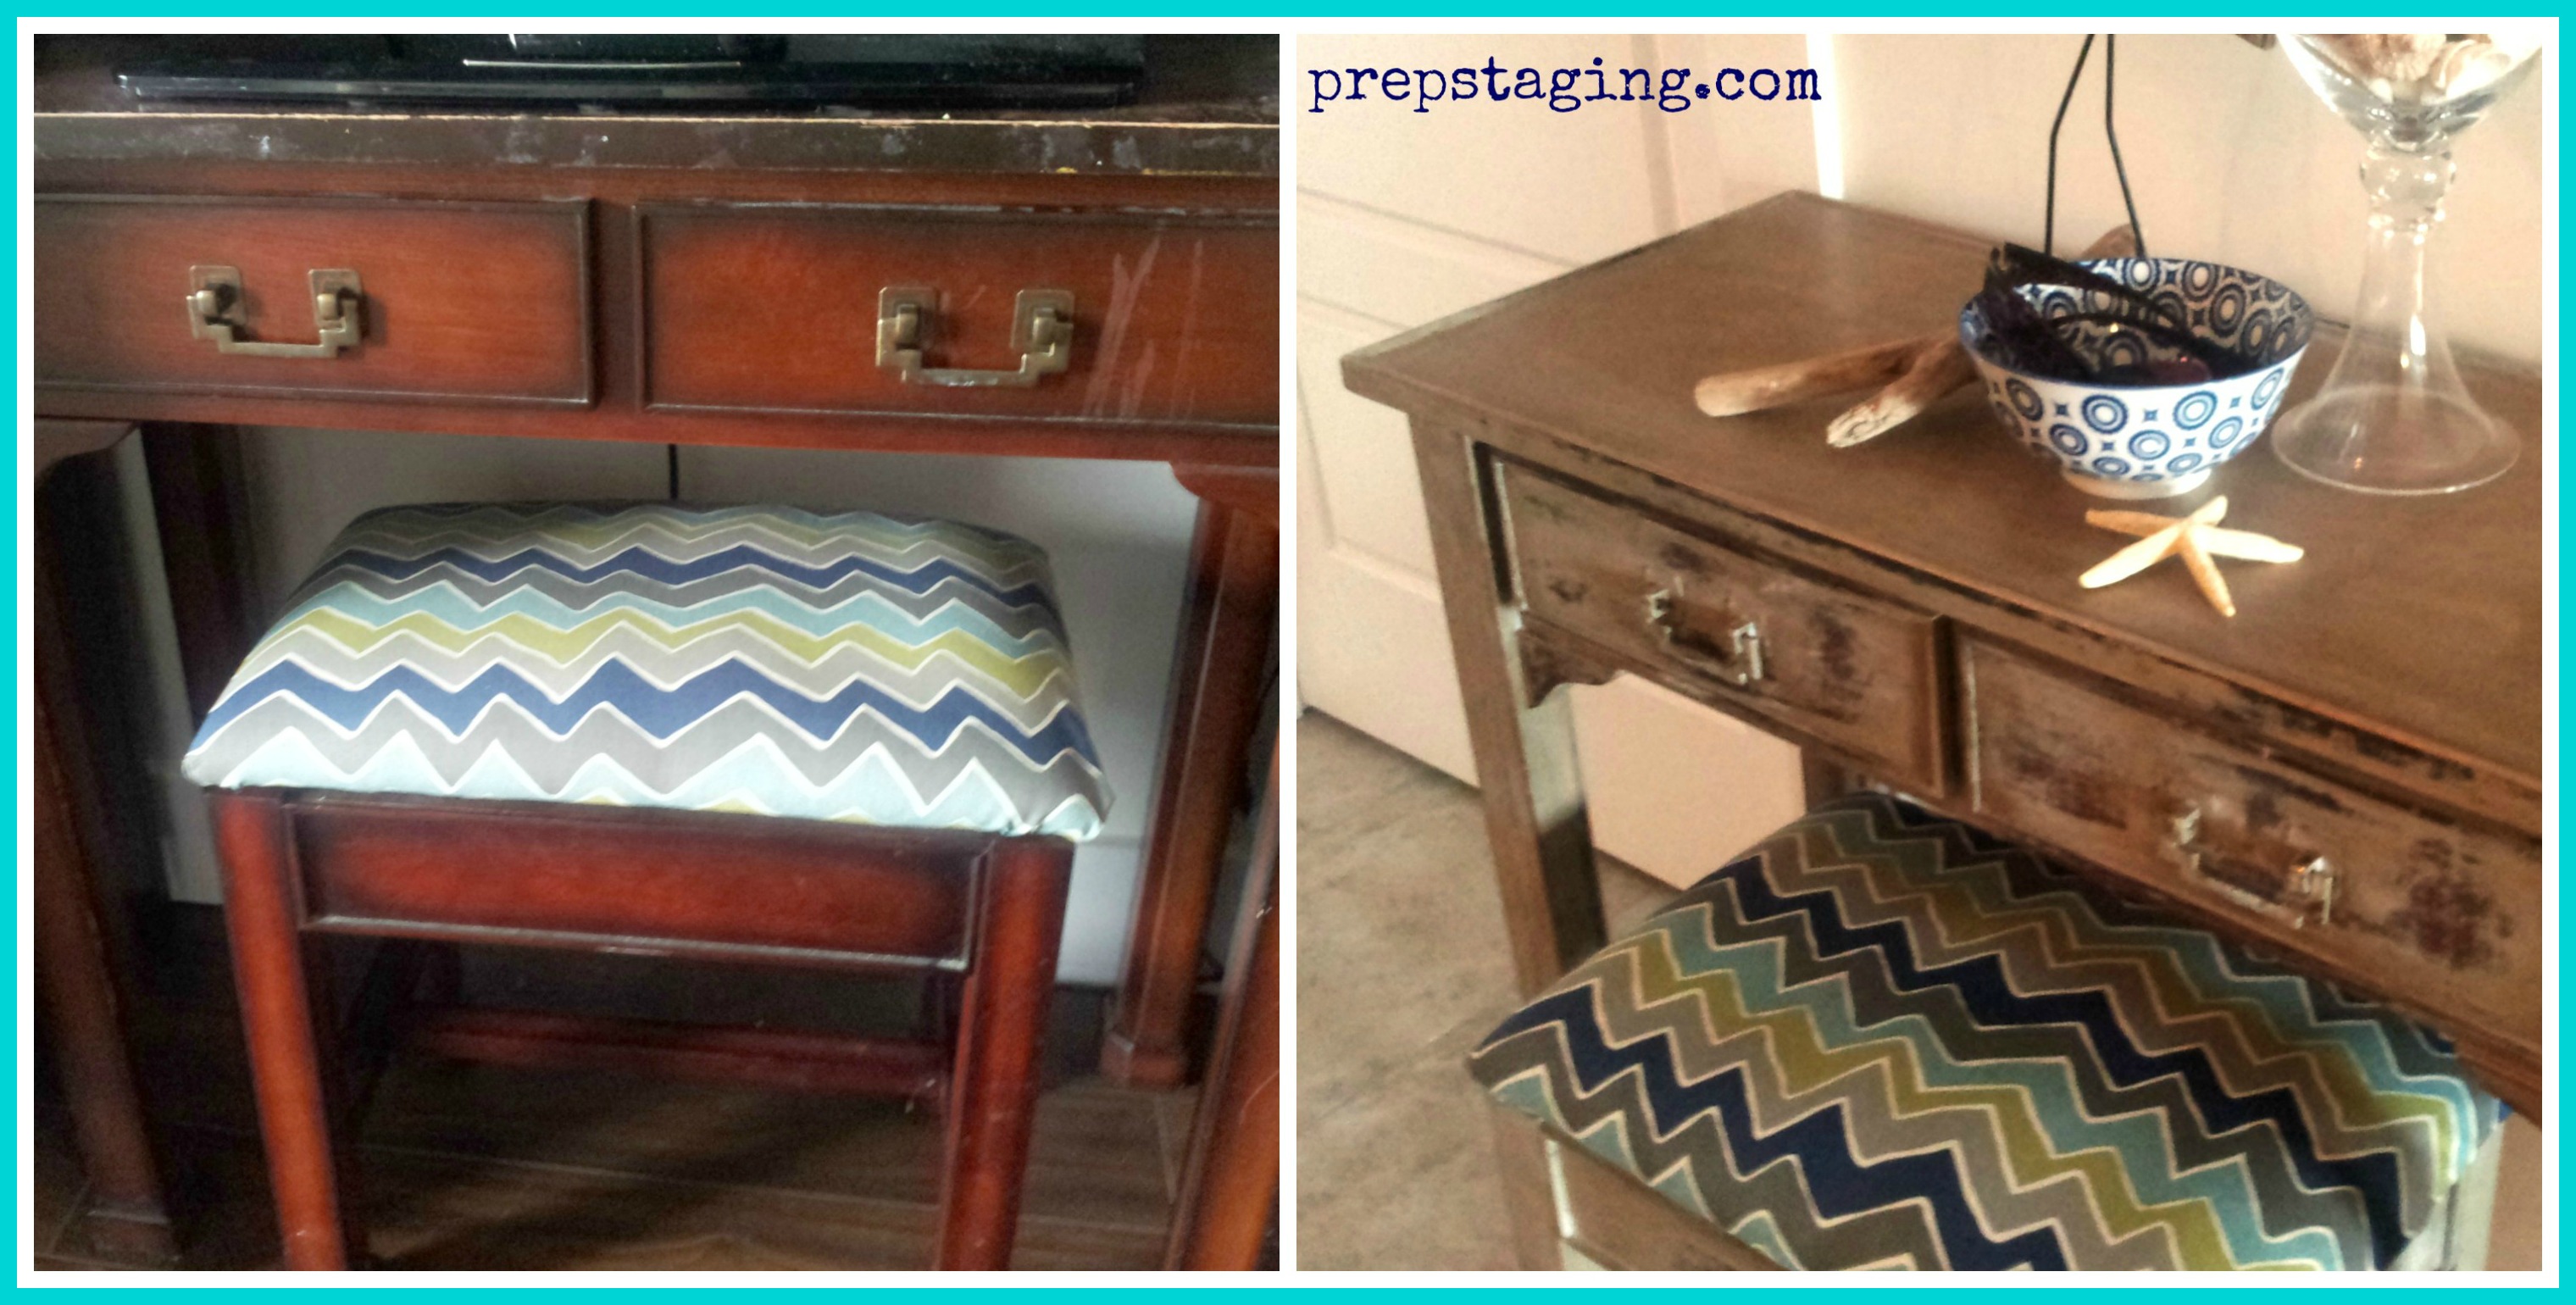
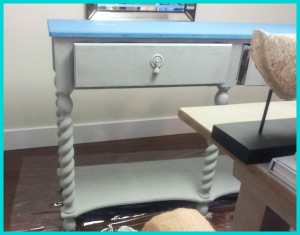
Here is the finished piece. It took about 4 hours from start to finish, so so easy and it really changes the look of the pieces. I also made over a small hall table and bench that was in really rough shape. Same technique, Paris Grey and dark wax. I added the new fabric and it makes a great place for keys in my entry way. This smaller project only took a tester size of the paint, a great way to try it out before you commit to a larger can. Here is the before and after.

table before & after


Rusty Hinges also runs chalk paint workshops at their store, give them a call for details, the ladies are so helpful.

20140824_124534

Annie Sloan Stockist Halifax

Home Staging : Small changes reap large rewards

The mention of home staging often conjures up $$$$ signs in a homeowner’s mind but actually it’s the small inexpensive changes that often make the most impact when listing a home for sale. The trick is to merchandise for your market. Your home, once on the market, is a product and needs to be presented to attract attention. The right kind of attention. Staging can ensure your listing doesn’t get lost in the virtual marketplace. You only have seconds to impress so make that first look at your home count.

#1 Update Decor

If the last time your home had a spruce up was 1985, don’t be fooled into thinking just because you are ok with your décor, buyers will be too. Cosmetic upgrades are always a good idea. Even a simple and inexpensive bedding update can make a world of difference to online images. In the bedroom shown we used the homeowner’s existing furniture. Changing the overpowering, outdated floral bedding and removing the drapes made a huge difference and brightened the room immediately. Quick, easy and an instant update.

Before bedroom Portland


Bedroom after Portland


The Bathroom was a similar easy fix, Remove rugs to expand floor space, de clutter counter, add colour and art and new, fresh towels. Online images need to be visually appealing, especially for bathrooms which are big selling features for buyers.

Main bath before Portland


Bathroom after Portland

Dining rooms are where a buyer will entertain family and friends so they need to be shown as an inviting, functional space. If you are selling a home with a formal dining area, as this older home had, de cluttering is key. Remove any small collectibles, wall plates, small pieces of art, dried flowers etc. Also remove overfilled curio cabinets and dining hutches if possible. Not every piece of china needs to be on display. Pack up items to give an illusion of space. Keep it simple. Removing tablecloths is an instant update and makes a room seem more spacious too. Take down heavy drapes to let more light in to brighten the room.

Dated dining

Dining after Portland

Even if you don’t use a room in your home, it is so important to show it as useable square footage. A buyer needs to see how the room can function for them. Many buyers are unable to envision how they will use a room so make it easy for them to see themselves in your home.

Guest bed before

Bedroom 2 after Portland

The home shown was an estate sale. First I visited the home to do a staging report with recommendations for removing some furnishings, de cluttering, what to pack up etc. and on the day of staging all it needed to make it market ready were some cosmetic changes, furniture rearrangement, updated accessories and colours.
SOLD 🙂 by Mary Stickings Remax Nova
http://www.remaxnova.com/realtors/113379

Related Images: